CSS 基本
階層樣式表 (Cascading Stylesheets;CSS) 可用以塑造網站的特殊風格。例如這段文字要用一般的黑色,或是改用紅色標明重點?某段重要內容應該置於畫面的何處?想用什麼背景圖片及顏色裝飾你的網站?〈CSS 基本概念〉帶你入門。
CSS 到底是什麼?
跟 HTML 一樣,CSS 既非標準程式語言,也不是標記語言, 而是一種風格頁面語言(style sheet language):它能讓你在 HTML 文件中的元素(element)上套用不同的頁面樣式(style)。例如, 當想要將 HTML 頁面上所有段落元素(paragraph elements)裡的文字全部轉換成紅色,你會在 CSS 裡寫:
p {
  color: red;
}
試看看在你的編輯器上建立新的檔案 style.css 並貼上這三行 CSS 程式碼,並存到你的styles 目錄。
但我們還需要把 CSS 套用在 HTML 文件上。否則 CSS 的樣式效果,不會在瀏覽器的 HTML 檔案顯示。(如果你還未跟上我們的專案,請閱讀 Dealing with files 和 HTML basics 以找出你需要什麼)
-
打開
index.html文件,然後將下面一行貼到 head,也就是<head>和</head>標籤之間。html<link href="styles/style.css" rel="stylesheet" type="text/css" /> -
存檔
index.html並且在瀏覽器載入。你應該可以看到下面的頁面。
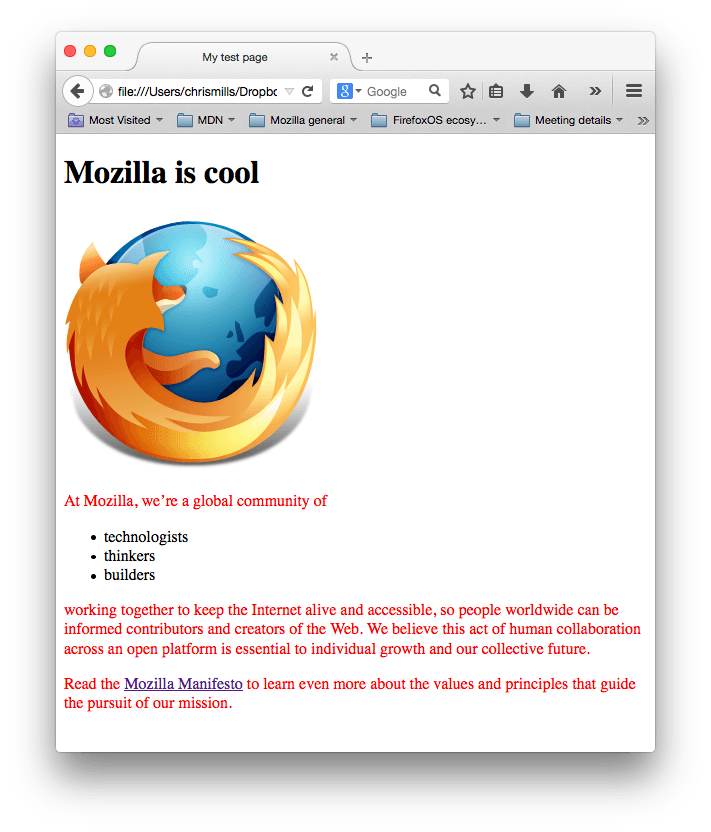 如果你的段落文字現在變成紅色, 恭喜, 你已經成功撰寫你的第一份 CSS!
解析 CSS ruleset
讓我們深入解析下列的 CSS:

整個架構我們稱為規則集 (rule set),或是簡稱為規則 (rule) 也可以。(也注意名字裡面的單獨部分)
- 選擇器(Selector)
-
在這個規則的最前頭為 HTML 的元素名。它將決定你 HTML 裡什麼元素將被你接下來的設定影響(在這個範例中,就是 段落元素
p)。若要改變欲影響的元素,只要更改選擇器就行了。 - 宣告(Declaration)
-
單一個規則,例如
color: red;指定了這個元素的呈現樣貌。 - 屬性 (Properties)
-
修改屬性是改變你 HTML 元素的一種方法 . (在這範例中,
color是段落(p)元素的一種屬性.) 在 CSS 中, 你可以選擇哪些屬性用來影響 rule. - 屬性值 (Property value)
-
屬性值 就是位於屬性右邊,在冒號(
:)之後,從眾多的可能樣式選出一個給予屬性(範例中就是從眾多的color樣式中選出red)
注意語法其他重要的部分:
- 每一個規則當中,除了選擇器名稱以外,其他都必須被大括號(
{})給包住. - 在每一個宣告裡面,屬性跟屬性值之間必須用冒號(
:) 做區分。 - 在每一個規則裡面可以包含有許多宣告,但不同的宣告之間必須使用分號 (
;) 來區分。
下面是一個簡單的 CSS 規則範例。注意每個宣告都是以冒號(:)來指定屬性值,並且宣告之間都是以分號做區分 (;) 。
p {
  color: red;
  width: 500px;
  border: 1px solid black;
}
選擇多個元素
你可以選擇數種元素(elements)並同時用在同一個 rule set 上。可以用逗號(,)包含數個選擇器,如:
p,
li,
h1 {
  color: red;
}
選擇器的不同類型
選擇器有很多種類。到目前為止,我們只看到了元素選擇器(element selector),它選取了指定 HTML 檔案下的所有選定元素。不過,我們還有更多選擇器。以下有一些常見類型:
| 選擇器名 | 選取/控制什麼 | 範例 |
|---|---|---|
| 元素選擇器,有時也稱作標籤或類型選擇器(Element selector、tag or type selector) | 指定所有 HTML 元素中的特定元素 | p選取 <p> |
| ID 選擇器(ID selector) | 指定頁面上的特定 ID 元素(單一 HTML 頁面中,每個 ID 只能綁定一個元素) |
#my-id控制 <p id="my-id"> 或
<a id="my-id">
|
| Class 選擇器(Class selector) | 指定頁面上的特定 class 元素(單一 HTML 頁面中,class 屬性可以被多個元素使用) |
.my-class控制 <p class="my-class"> 與
<a class="my-class">
|
| 屬性選擇器(Attribute selector) | 指定頁面上的特定屬性元素 |
img[src]控制 <img src="myimage.png"> 但不控制
<img>
|
| 虛擬 class 選擇器(Pseudo-class selector) | 在特定的情況下,指定頁面的元素,例如懸停時。 |
|
還有很多值得探索的選擇器,你可以在我們的選擇器導引章節看到更多介紹。
文字與字體
現在我們已經瀏覽過一些 CCS 的基礎,接下來我們開始增加更多的規則和資訊到我們的 style.css 檔案,讓我們範例中的字型和文字看起來更好.
-
第一步, 我們回到 output from Google Fonts 找到你存的字體。 加上
<link ... >這個元素在你的index.html文件裡的 head 中(在<head>跟</head>任何位置中)。 這一段 code 將頁面連結到樣式表,將 Open Sans 字體系列與網頁一起下載,並讓你在 HTML 元素上使用自己的樣式表進行設置。 它看起來會像:html<link href="http://fonts.googleapis.com/css?family=Open+Sans" rel="stylesheet" type="text/css" /> -
下一步, 刪除
style.css文件中其他現有的字體。這是個很好的嘗試, 但紅色字體看起來真的有點醜。 -
把下面這行加在這個地方, 取代 placeholder line with the actual
font-familyline you got from Google 字體. (font-family是指你想在文件中使用的字體.) 這規則 此規則首先為頁面設置整體的基本字體和字型(因<html>是整個頁面的父元素, 頁面中所有的元素會繼承同樣的字體和字型):csshtml { font-size: 10px; /* px means 'pixels': the base font size is now 10 pixels high */ font-family: placeholder: this should be the rest of the output you got from Google fonts }備註:我已增加了對於 "px" 的說明在上面. 任何在 CSS document 中
/**/內的文字是 CSS 說明, 瀏覽器在編譯時會忽略掉. 這是一個可以用來說明你做了什麼的幫助訊息. -
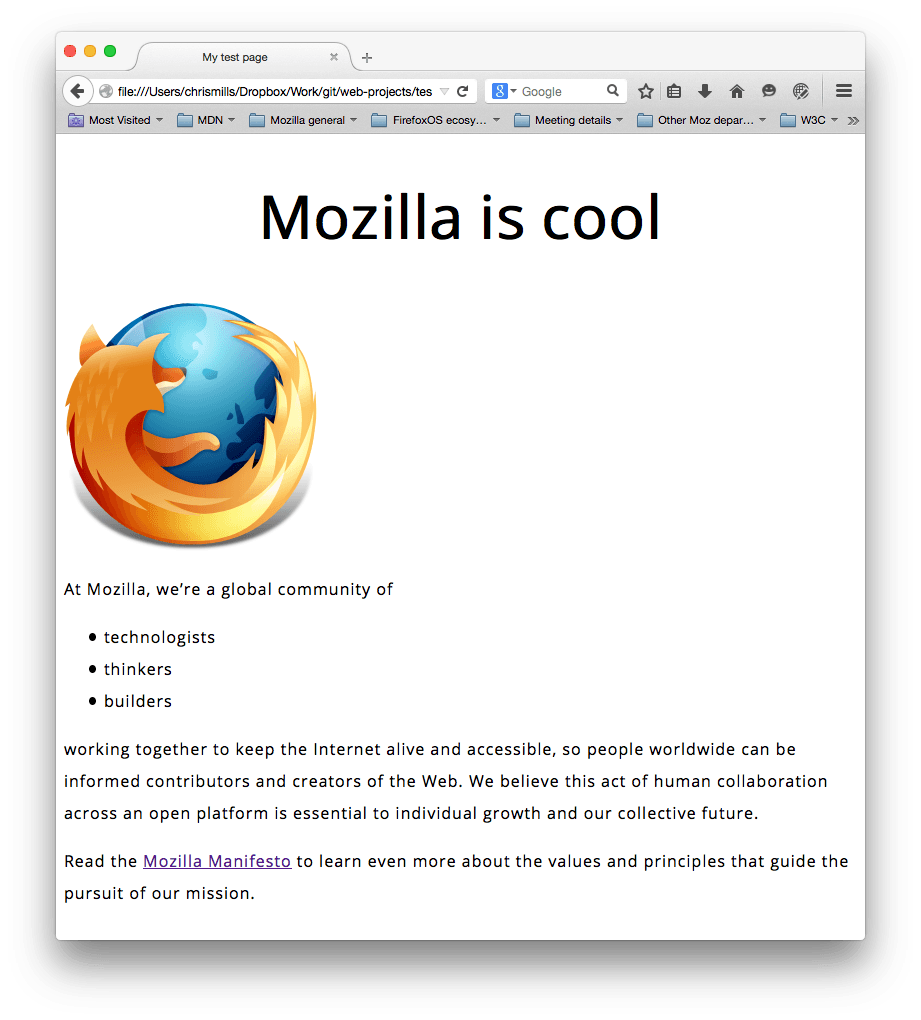
現在我們將會在 HTML body 中為包含文字的元素設置字體大小,
<h1>,<li>,<p>。我們也設置標題居中,並在正文內容上設置一些行高和間距,使其更具可讀性cssh1 { font-size: 60px; text-align: center; } p, li { font-size: 16px; line-height: 2; letter-spacing: 1px; }
你可以依自己喜好修改 px 的值。你目前的工作成果可能如下圖所示:
CSS:和塊(box)密不可分
當你在編寫 CSS,設定尺寸、顏色及位置時,你會發現它有著如同箱子(塊,box)的概念。多數在網頁上的 HTML 元素就像是箱子一般相互堆疊而成。

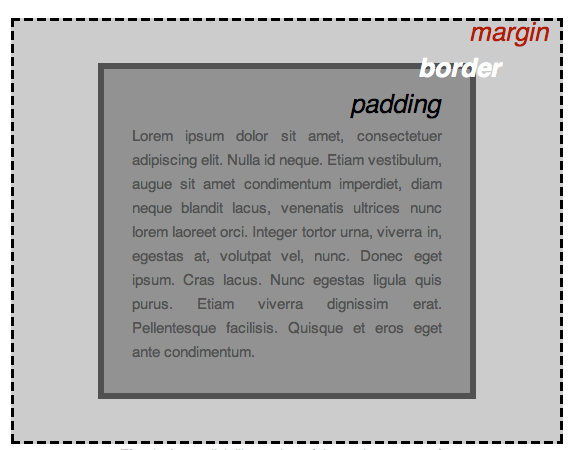
CSS 佈局主要基於「box 模型」。在頁面空間的每個 box 都有下列屬性:
padding:內容周圍的空格(例如,段落文字周圍)border:位於矩形內容外部的實線margin:元素外部的空間
在本節中,我們還使用:
width:(元素的寬度)background-color:元素內容和矩形內容後面的顏色color:元素內容的顏色(通常是文字)text-shadow:在元素內的文字上設置陰影display:設置元素的顯示模式(後面會詳細介紹)
所以,讓我們開始對我們的頁面添加更多 CSS!繼續將這些新規則添加到style.css頁面底部,不需要害怕多方嘗試去改值設定來了解結果。
改變頁面顏色
html {
  background-color: #00539f;
}
這條規則將會套用到整個頁面的背景顏色。根據你在規劃網站時選擇的顏色修改其中的顏色代碼。
設定 body 的風格(styling)
body {
  width: 600px;
  margin: 0 auto;
  background-color: #ff9500;
  padding: 0 20px 20px 20px;
  border: 5px solid black;
}
接下來修改 body 元素。以下依序介紹一些常見的宣告:
width: 600px;— 將 body 寬度固定為 600 像素margin: 0 auto;— When you set two values on a property likemarginorpadding, the first value affects the element's top and bottom side (make it0in this case), and the second value the left and right side (here,autois a special value that divides the available horizontal space evenly between left and right). You can also use one, three, or four values, as documented here.background-color: #FF9500;— as before, this sets the element's background color. I used a sort of reddish orange for the body as opposed to dark blue for thehtmlelement. Go ahead and experiment. Feel free to usewhiteor whatever you like.padding: 0 20px 20px 20px;— we have four values set on the padding, to make a bit of space around our content. This time we are setting no padding on the top of the body, and 20 pixels on the left, bottom and right. The values set top, right, bottom, left, in that order.border: 5px solid black;— this simply sets a 5 pixel wide solid black border on all sides of the body.
設定我們主要頁面標題的位置(Positioning)和風格(styling)
h1 {
  margin: 0;
  padding: 20px 0;
  color: #00539f;
  text-shadow: 3px 3px 1px black;
}
You may have noticed there's a horrible gap at the top of the body. That happens because browsers apply some default styling to the <h1> element (among others), even when you haven't applied any CSS at all! That might sound like a bad idea, but we want even an unstyled webpage to have basic readability. To get rid of the gap we overrode the default styling by setting margin: 0;.
Next up, we've set the heading's top and bottom padding to 20 pixels, and made the heading text the same color as the html background color.
One rather interesting property we've used here is text-shadow, which applies a text shadow to the text content of the element. Its four values are as follows:
- The first pixel value sets the horizontal offset of the shadow from the text — how far it moves across: a negative value should move it to the left.
- The second pixel value sets the vertical offset of the shadow from the text — how far it moves down, in this example; a negative value should move it up.
- The third pixel value sets the blur radius of the shadow — a bigger value will mean a more blurry shadow.
- The fourth value sets the base colour of the shadow.
Again, try experimenting with different values to see what you can come up with.
把圖像置中
img {
  display: block;
  margin: 0 auto;
}
Finally, we'll center the image to make it look better. We could use the margin: 0 auto trick again as we did earlier for the body, but we also need to do something else. The body element is block level, meaning it takes up space on the page and can have margin and other spacing values applied to it. Images, on the other hand, are inline elements, meaning they can't. So to apply margins to the image, we have to give the image block-level behavior using display: block;.
備註:Don't worry if you don't yet understand display: block; and the block-level/inline distinction. You will as you study CSS in more depth. You can find out more about the different available display values at our display reference page.
結論
看完了以上的介紹並依照各個步驟實做,你應該能自己寫出這樣的網頁(如下, view it here):
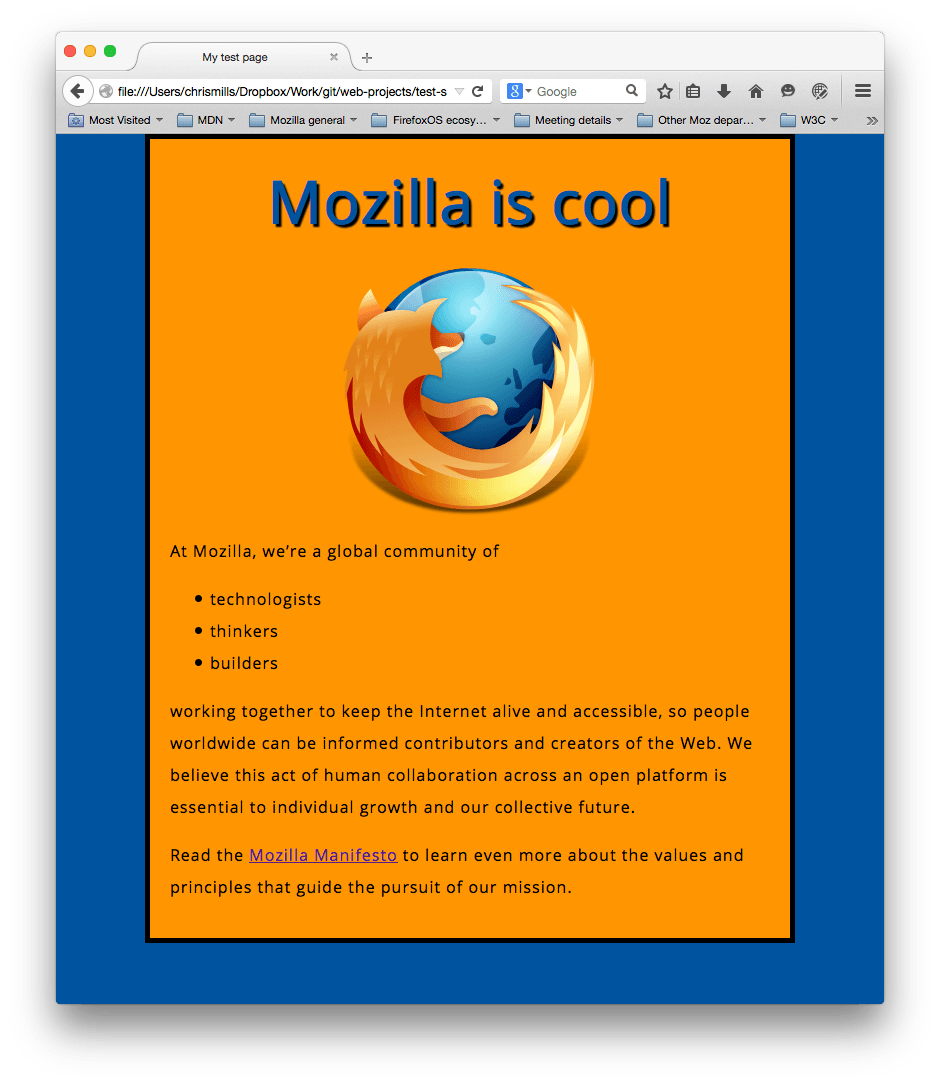
如果哪裡卡關了,你可以隨時造訪 Github 上的 finished example code ,看看裡面的 code 和你寫的哪裡不同。
這篇文章觸及的是非常基本的 CSS 介紹,若你有興趣想進一步了解,歡迎參考 CSS Learning topic。